
If you love tinkering with electronics but don’t want to dive deep into bare-metal C/C++, then MicroPython is about to become your new best friend.
In this post, we’ll set up MicroPython on popular boards like the Raspberry Pi Pico, ESP32, ESP32Cam, ESP32S3, ESP32C6, and more using the super friendly Thonny IDE.
This will be our starting point for a series of awesome projects ahead!
Why MicroPython?
- Easier Syntax: Write code that looks like normal Python!
- Faster Prototyping: Get things working quickly without 1000 lines of C++.
- Familiarity: If you’ve ever touched Python, you’ll feel at home.
- Easy Debugging: See real-time errors and logs.
- File Structure Access: Directly interact with your microcontroller’s files.
⚡ Sure, MicroPython isn’t as bare-metal or fast as C/C++, but it’s perfect for hobby projects and quick ideas!
What You’ll Need
Hardware
Supported boards (that I have worked with) for this guide:
- Raspberry Pi Pico
- Raspberry Pi Pico W
- ESP32 / ESP32Cam / ESP32C6 / ESP32S3
- Seeed Studio Xiao ESP32S3 Sense
Software
- Thonny IDE
- MicroPython Firmware
- ESP32CAM Firmware
- Xiao ESP32S3 Sense Firmware taken from Seeedstudio Blog. Be Sure to check that out as well SeeedStudio ESP32S3 Sense Setup.
- Drivers for your board (e.g., CH340, CP210x)
✅ We’ll mostly focus on Windows setup here. For macOS/Linux, check the official guides.
Step 1: Installing Thonny IDE
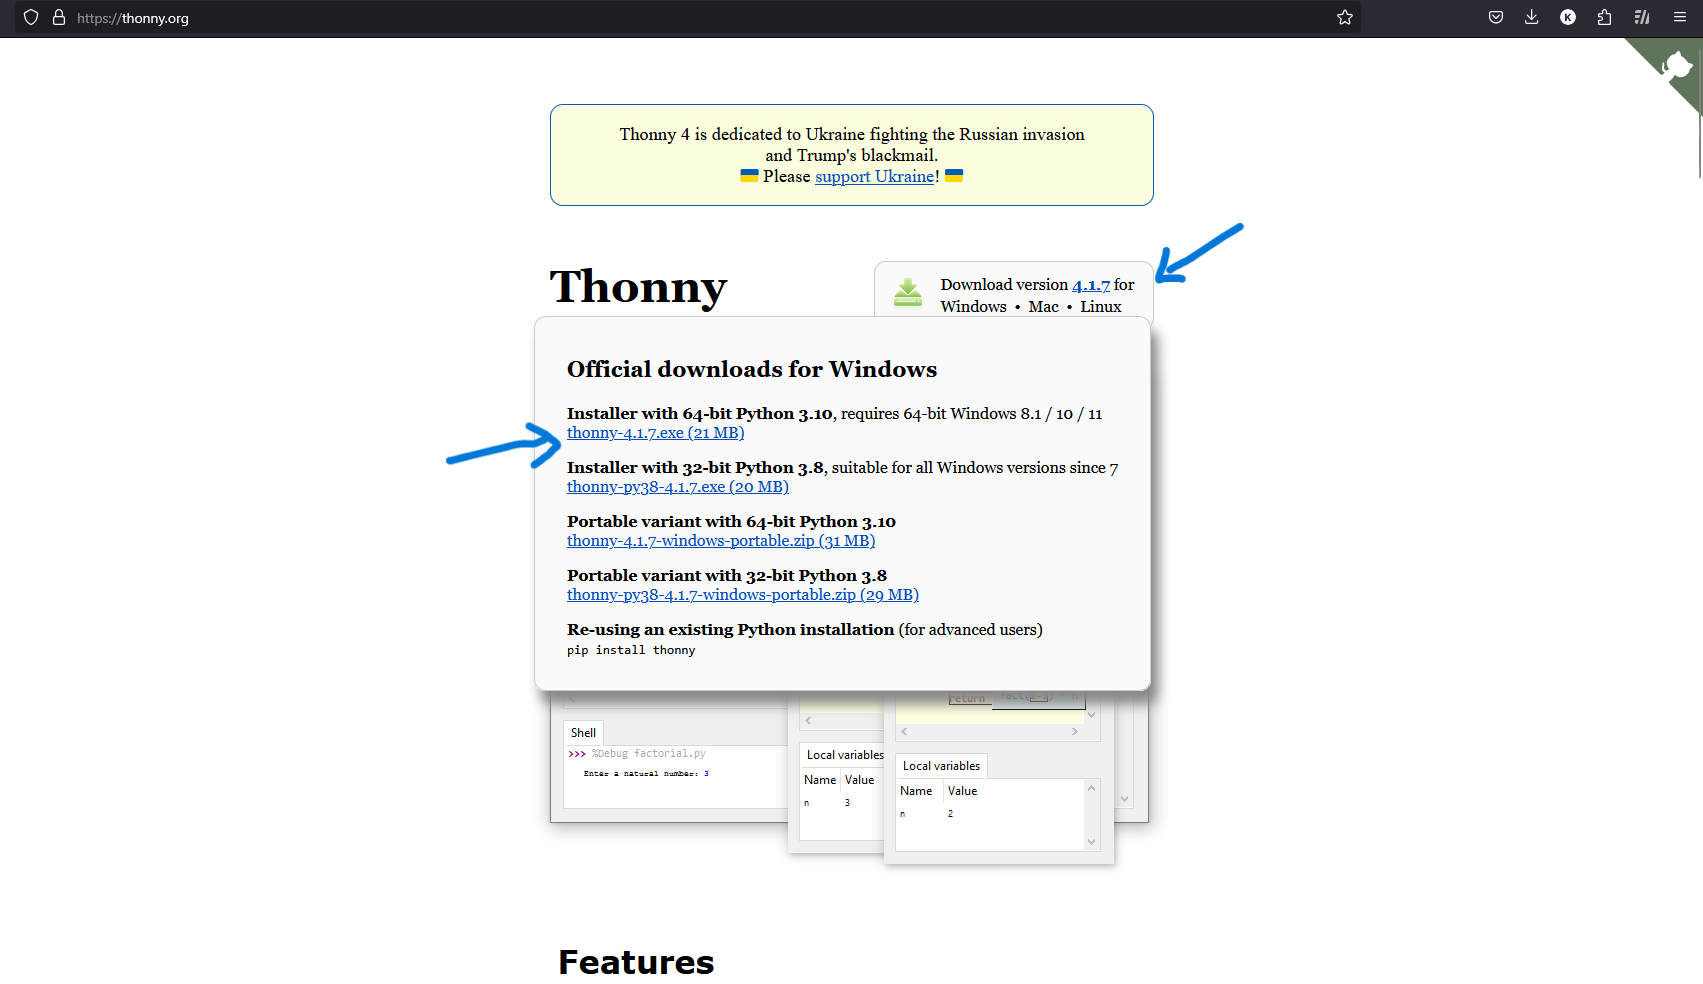
- Head over to thonny.org and download the installer for Windows.
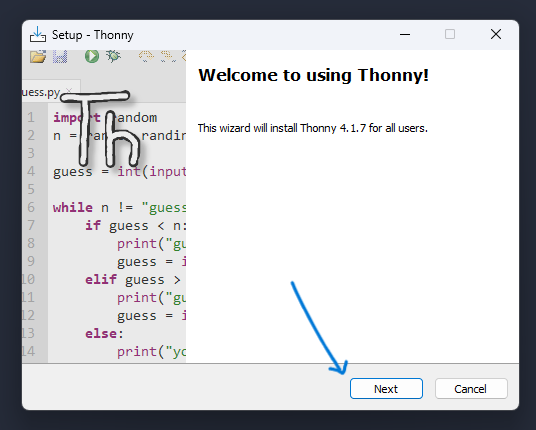
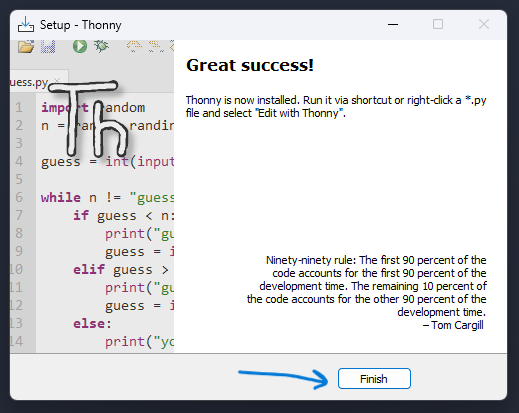
- Install Thonny — just click “Next” like you’re microwaving popcorn 🍿.
📸 Thonny Download page
📸 Thonny Setup Installer
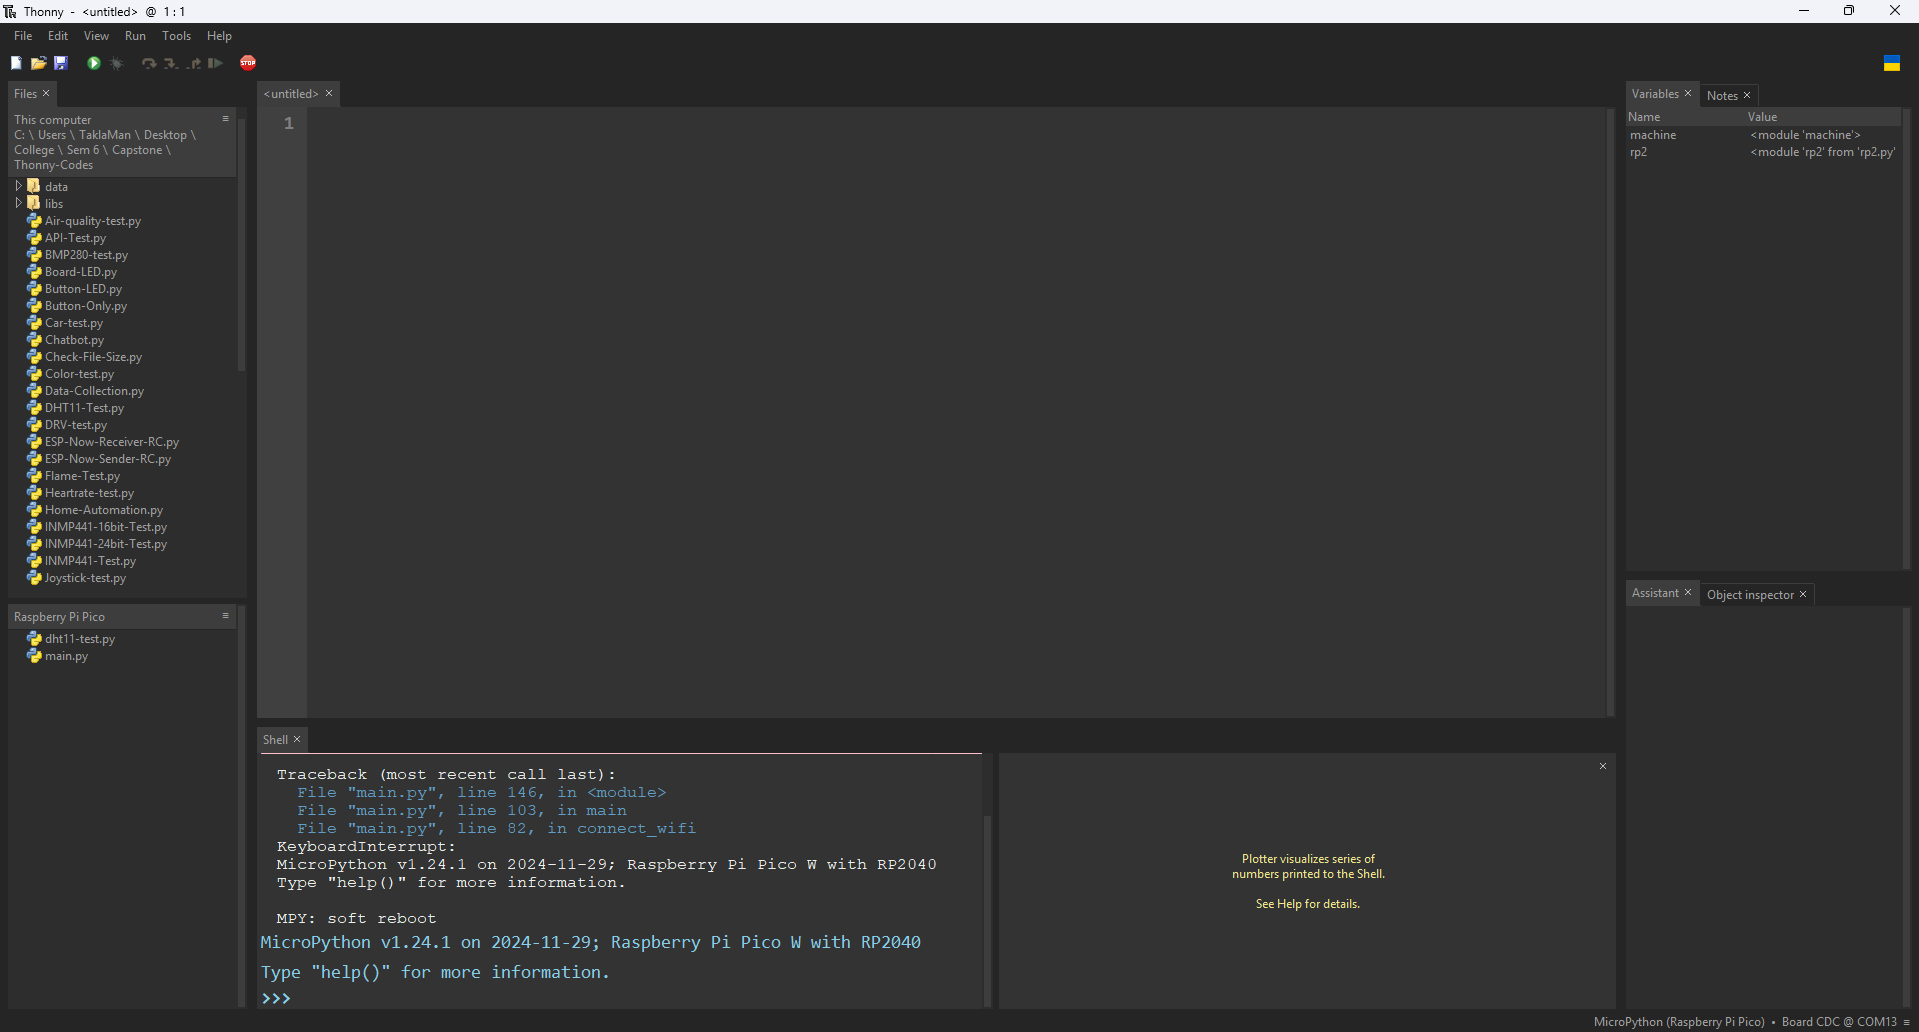
📸 First Launch of Thonny
Step 2: Connecting Your Board
- Plug your microcontroller into your PC using a good quality USB cable.
- Open Device Manager (Windows) and check if it appears under COM ports.
📸 Device Manager with connected board
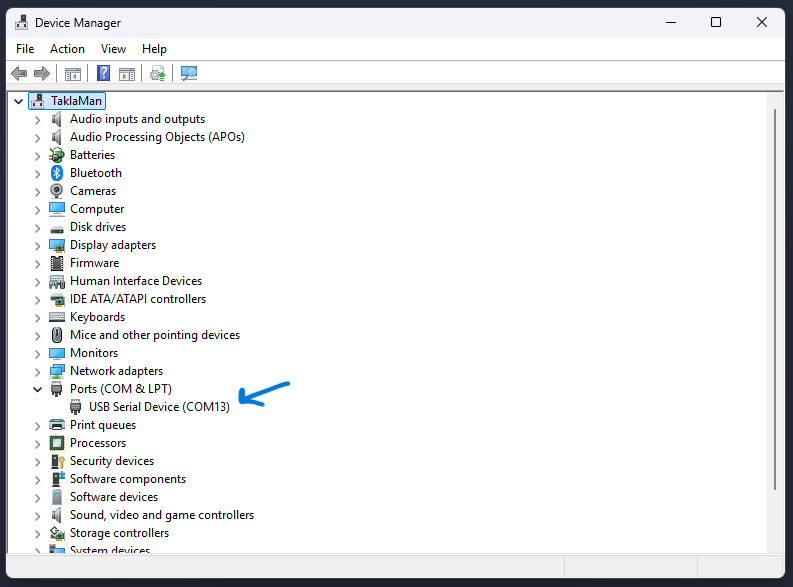
⚠️ If your board isn’t showing up:
- Install drivers for CH340, CP2102, or whatever your board uses.
Step 3: Installing MicroPython Firmware
There are two ways to install firmware:
📍 Using Thonny IDE (Easy way)
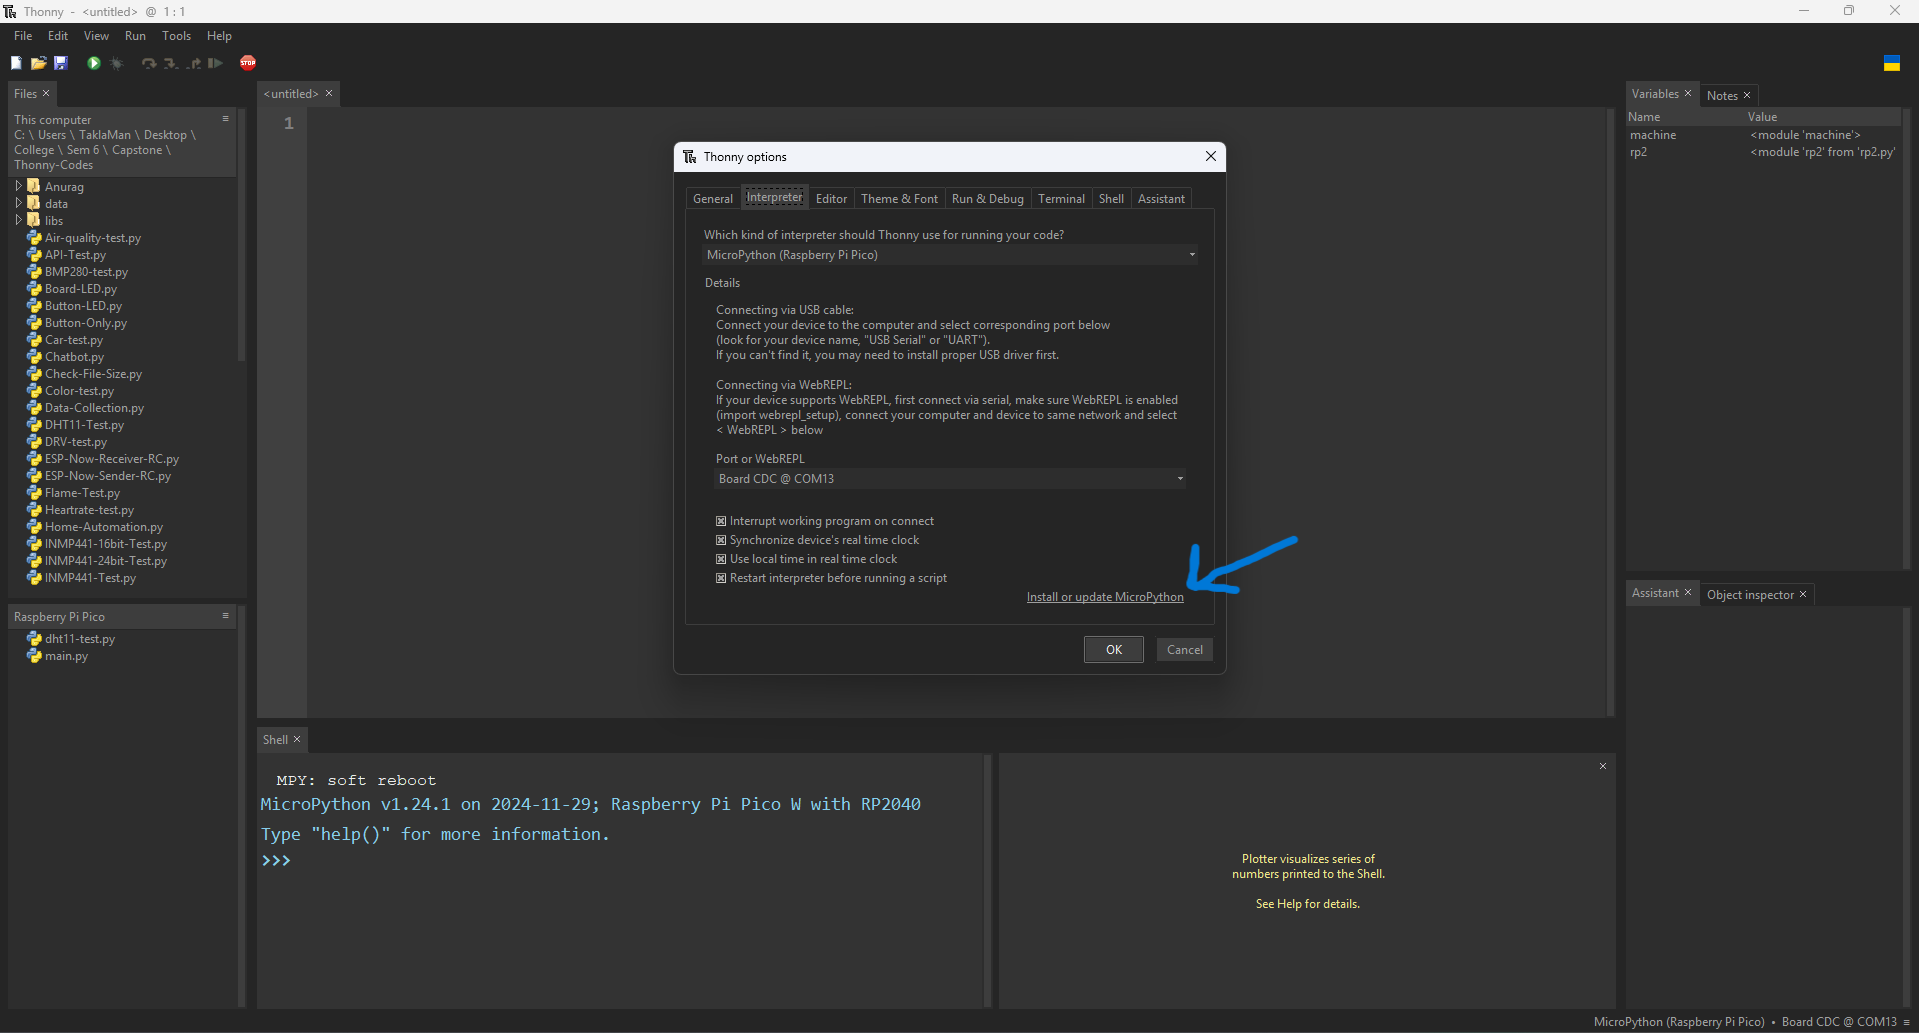
- In Thonny, go to
Tools > Options > Interpreter. - Select your board type (e.g., MicroPython (Raspberry Pi Pico)).
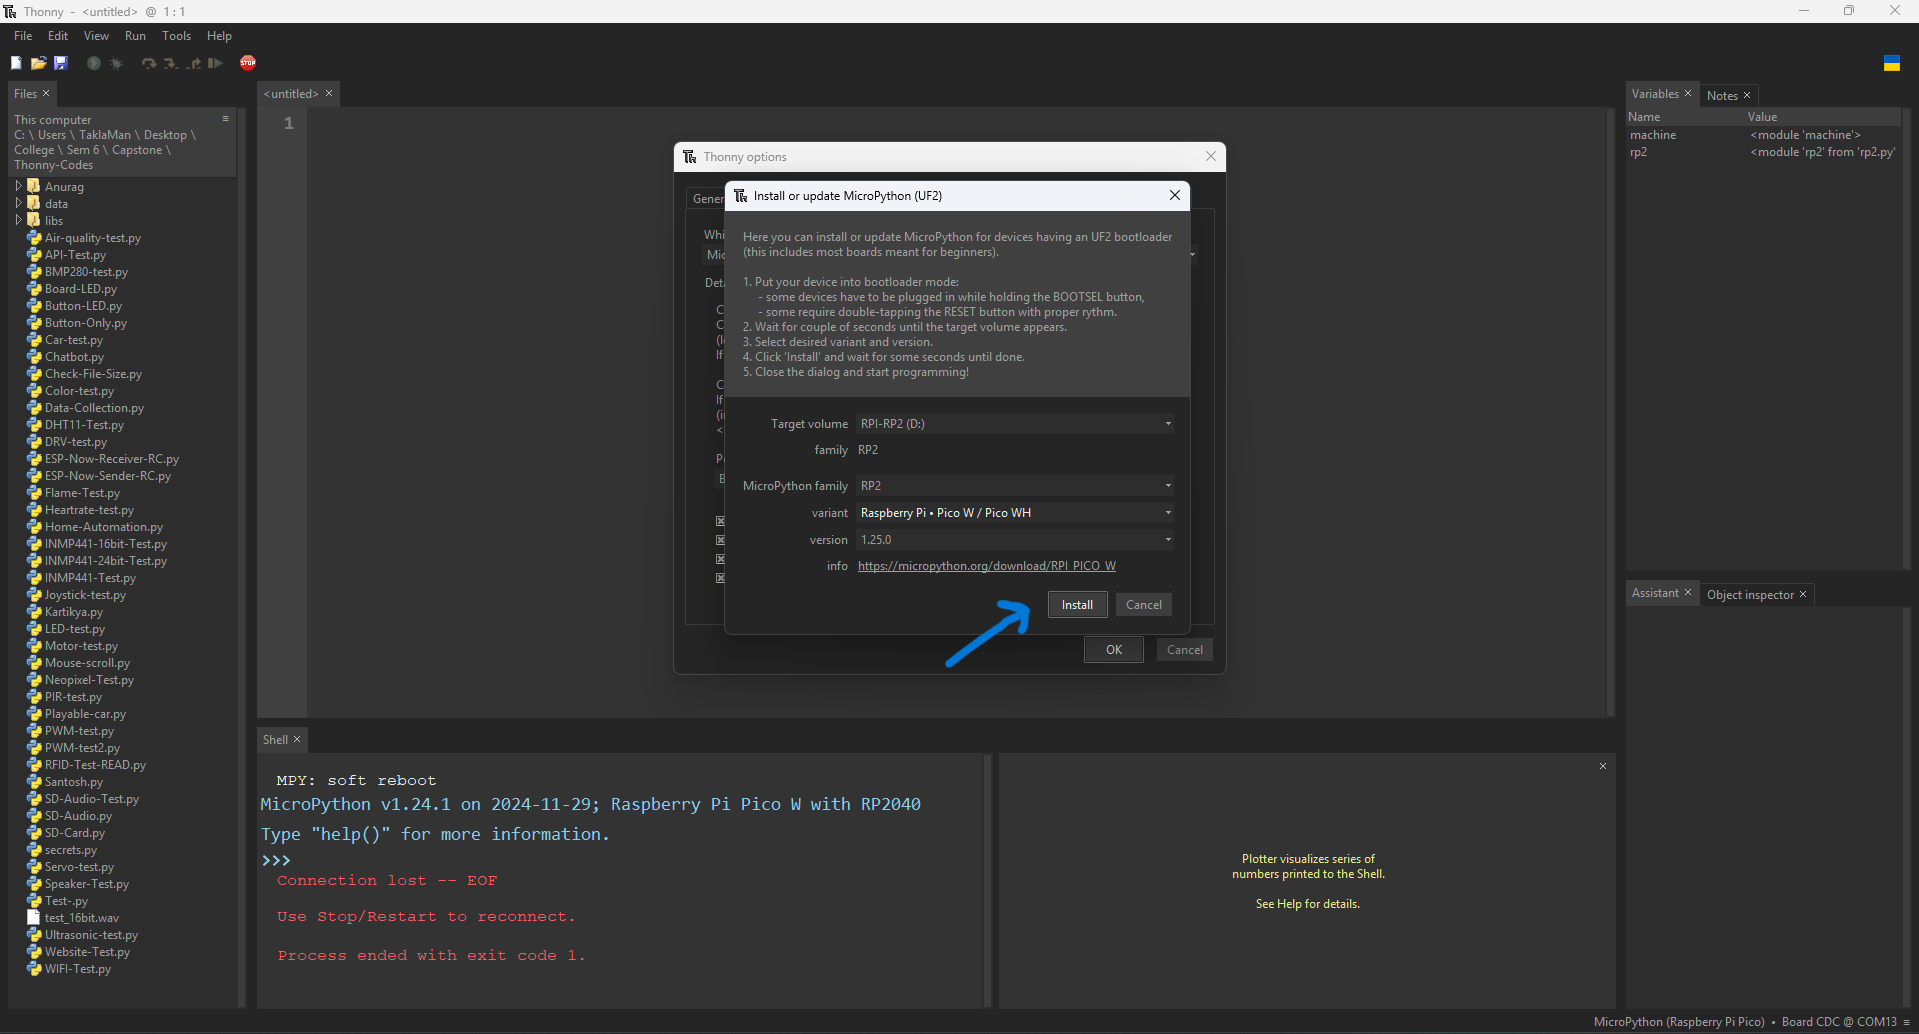
- If firmware isn’t installed, click Install or update MicroPython firmware.
- Select your port, browse to the correct firmware
.uf2or.binfile, and flash it.
Setup is shown for RPi Pico W
📸 Thonny install firmware window
📍 Using CLI + esptool
For those who don’t mind terminal:
pip install esptool
To erase and flash firmware:
esptool.py --chip esp32 erase_flash
esptool.py --chip esp32 write_flash -z 0x1000 firmware.bin
🤔 CLI might look scary, but once you do it once — it’s like riding a bicycle.
Step 4: Setting Up Thonny for MicroPython
- Open Thonny.
- Go to
Run > Select Interpreter. - Choose your board (MicroPython on Pico, ESP32, etc.).
- Select the correct COM port.
- Hit “OK” and restart the backend if needed.
📸 Thonny interpreter settings
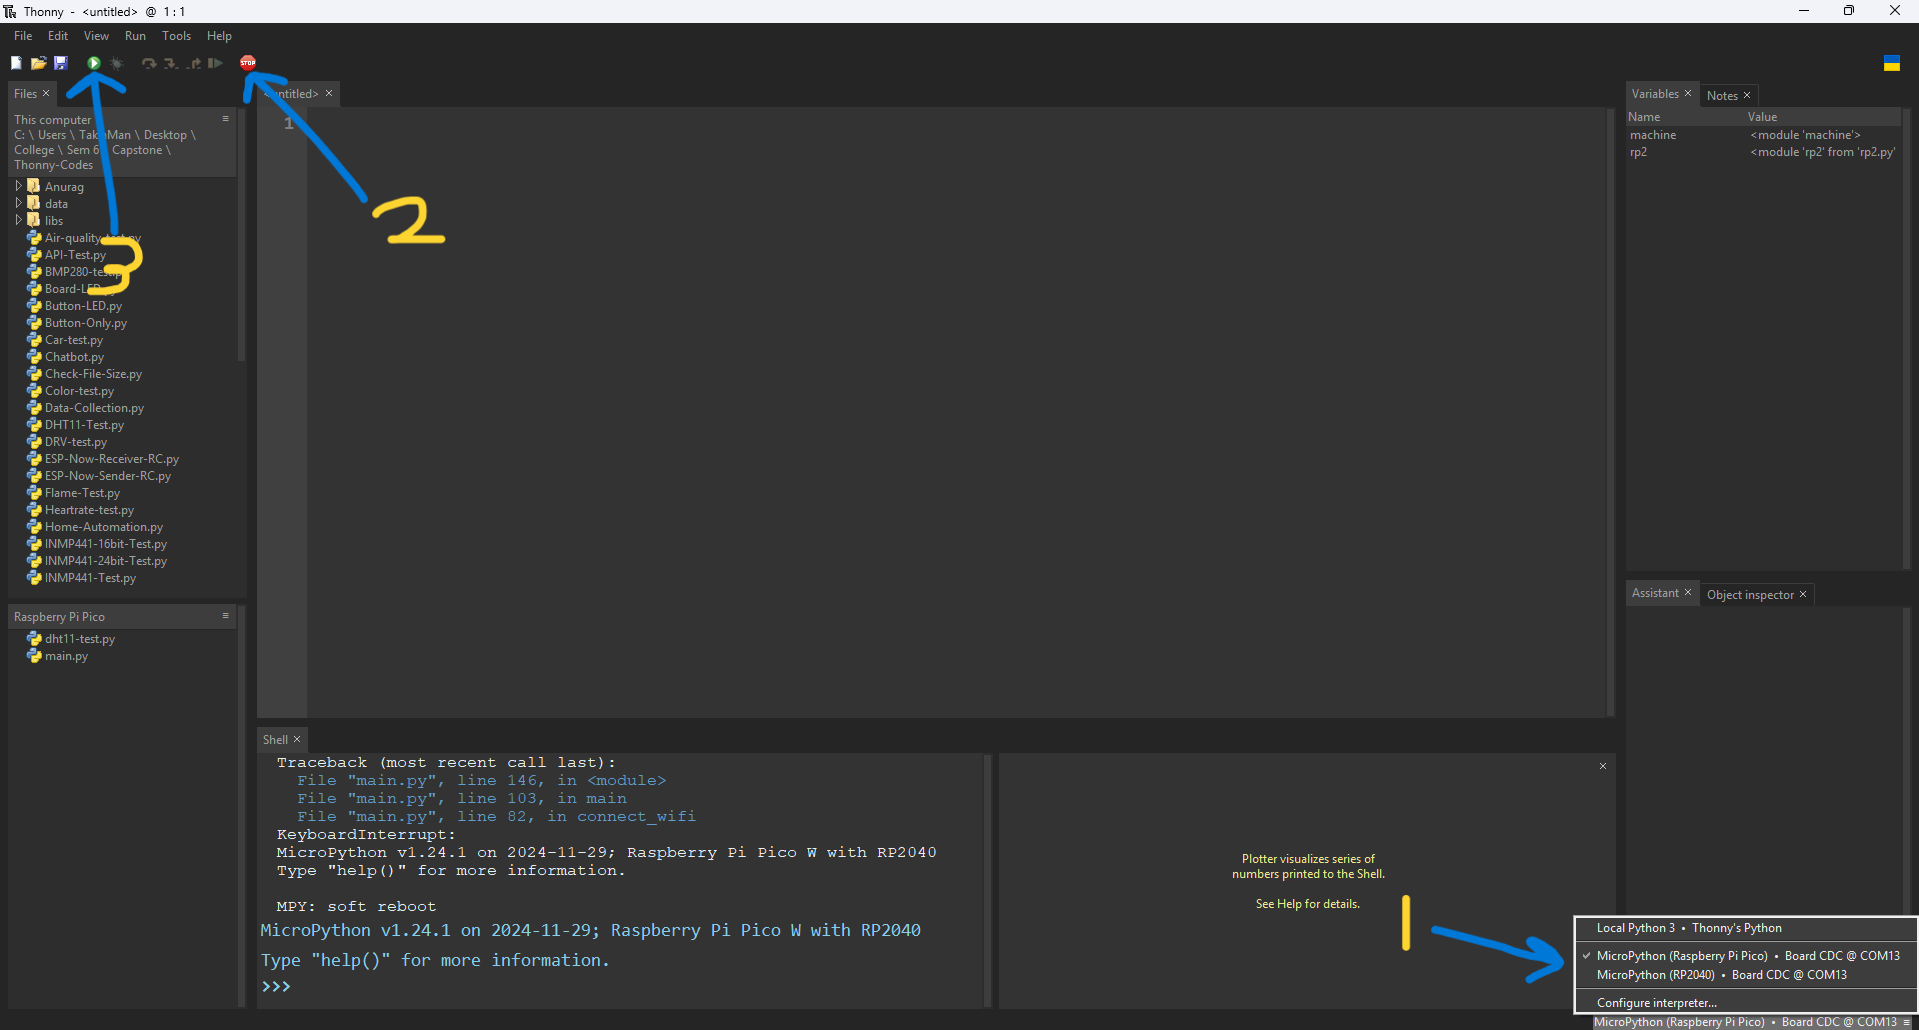
✅ If you see the MicroPython prompt >>> — congrats, you’re in!
Step 5: Your First Hello World
Let’s test it out!
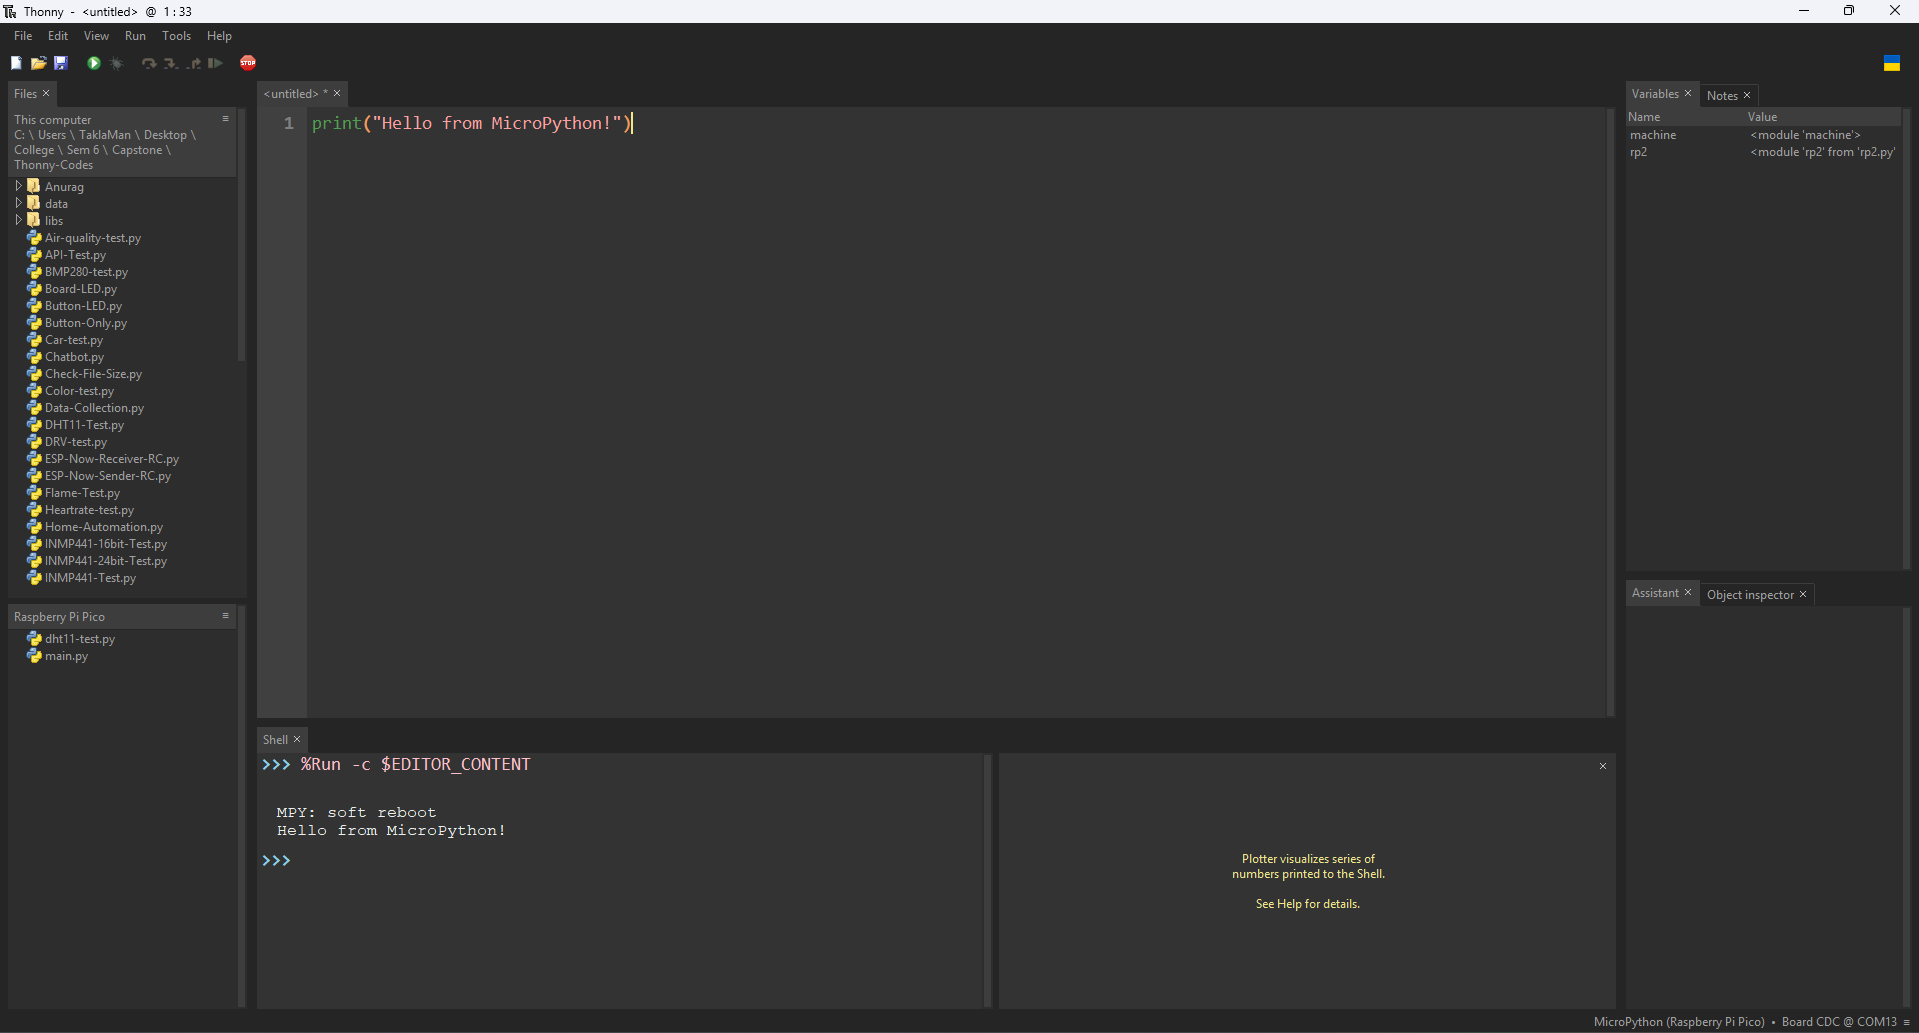
Paste this into Thonny’s editor:
print("Hello from MicroPython!")
Click the green run button, save to the board if asked, and see your message pop up in the shell.
📸 Thonny Shell showing Hello World
Troubleshooting Tips
Board not detected?
→ Check USB cables (some only charge, no data!), install drivers.Can’t flash firmware?
→ Make sure the board is in bootloader mode. For Pico, hold BOOTSEL while plugging it in.Thonny won’t connect?
→ Double-check the interpreter and COM port settings.Still weird issues?
→ Refer to the MicroPython GitHub Issues or peek into documentation.
Useful Links
Coming Next: Sneak Peek 👀
Now that you’ve set up your board like a pro, we’re ready to build real stuff!
Coming soon:
- Wireless Communication with ESP-NOW
- Making Secure HTTPS API Calls
- Reading Sensor Data Like a Boss
Stay tuned! 🚀
Test Code Repository 🧪
You can find test files and component setup examples in my GitHub repo here:
👉 IoT Test Dump on GitHub